

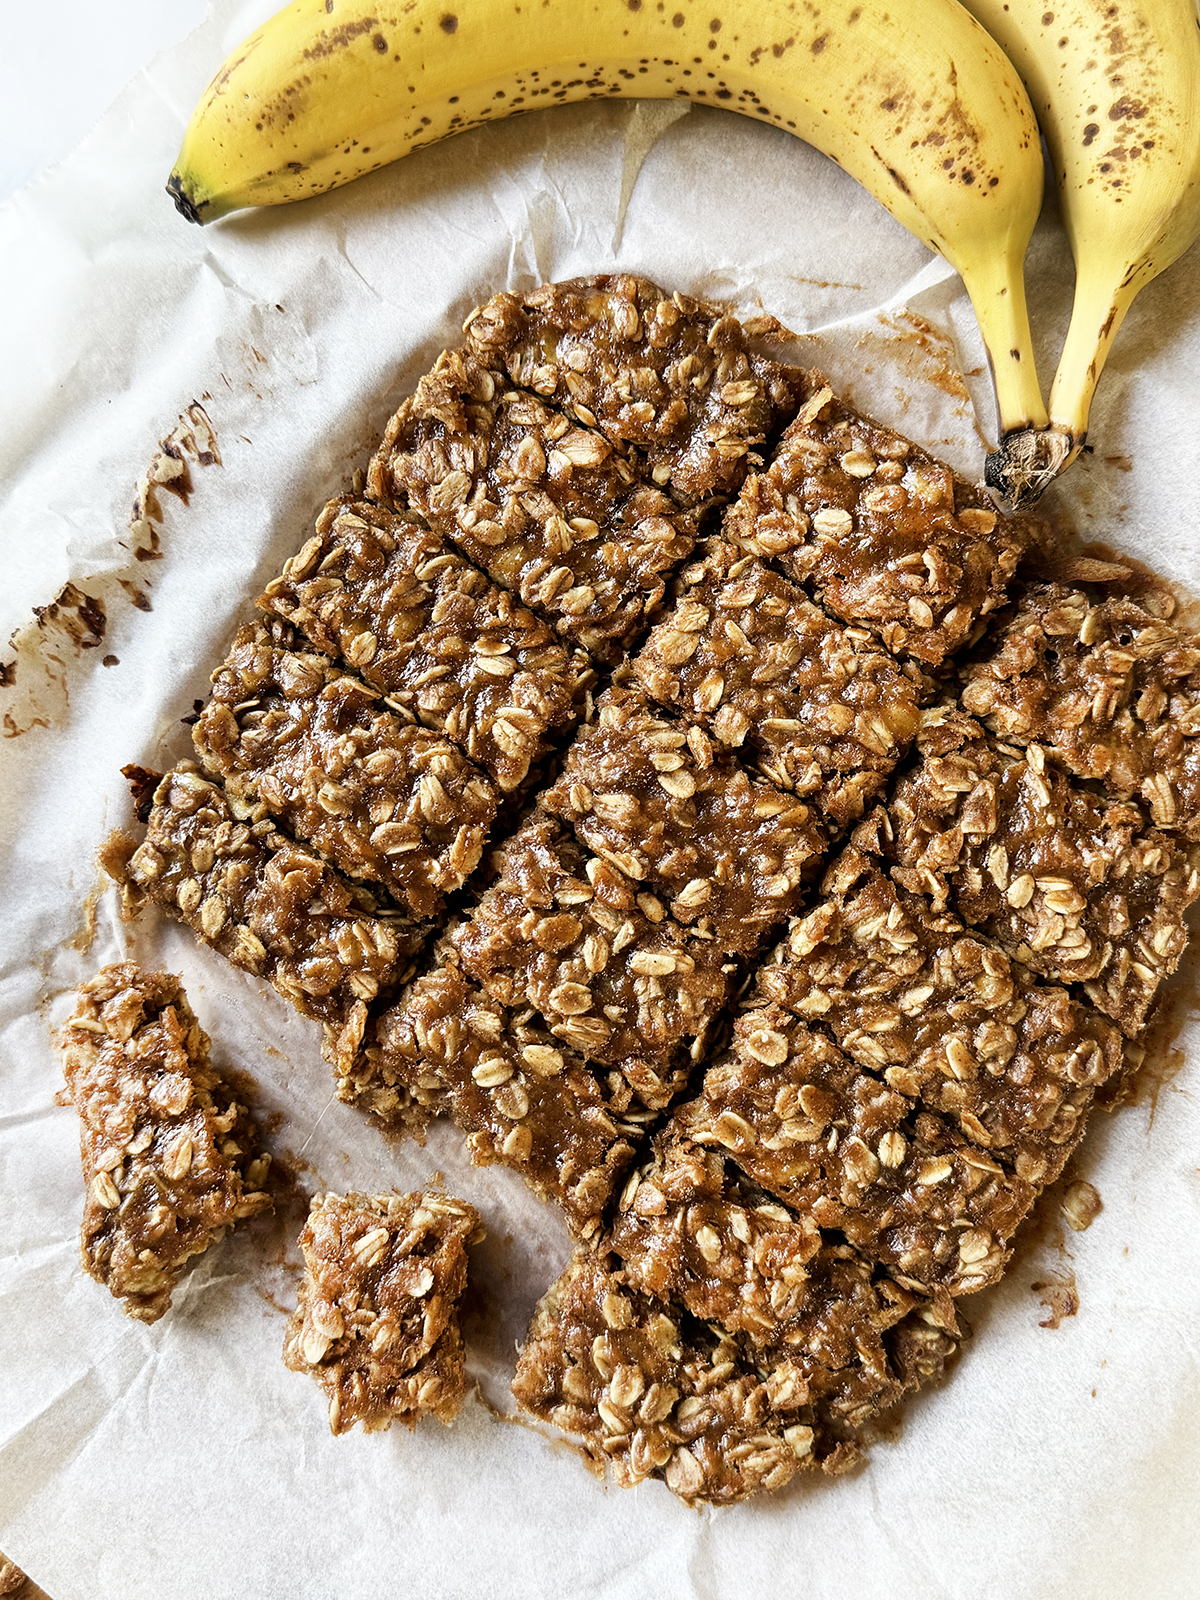
Stop staring at those bananas browning on your kitchen counter and use them to make these simple and delicious Banana Granola Bars. Not only are they easy to make, but you probably have all the ingredients right now. And a plate of these banana breakfast bars will be a lot more inviting than those brown bananas!
Why I Love These Banana Granola Bars
- Most likely, all of these simple ingredients are in your kitchen now.
- 10 minutes of prep and a one-bowl recipe.
- Great way to use ripe bananas.
- My boys eat these like they’re candy for breakfast, lunches, or a quick snack.
- Healthy snack or breakfast option!
These easy Banana Granola Bars are the perfect way to use up those bananas that keep giving you the side eye that says “I’m not going to get any yellower again.” And you most likely have all the other ingredients on hand in your kitchen right now!
These peanut butter banana oatmeal bars are kid-tested - my boys eat them like they’re candy - and made with just 10 minutes of prep time using simple, wholesome ingredients. These healthy oatmeal bars are a sweet treat and a great option for breakfasts, lunch or as the perfect snack for midday or nighttime munchies.
Healthy Banana Oatmeal Bars Ingredients
These oatmeal breakfast bars are made with just a handful of simple, common ingredients.
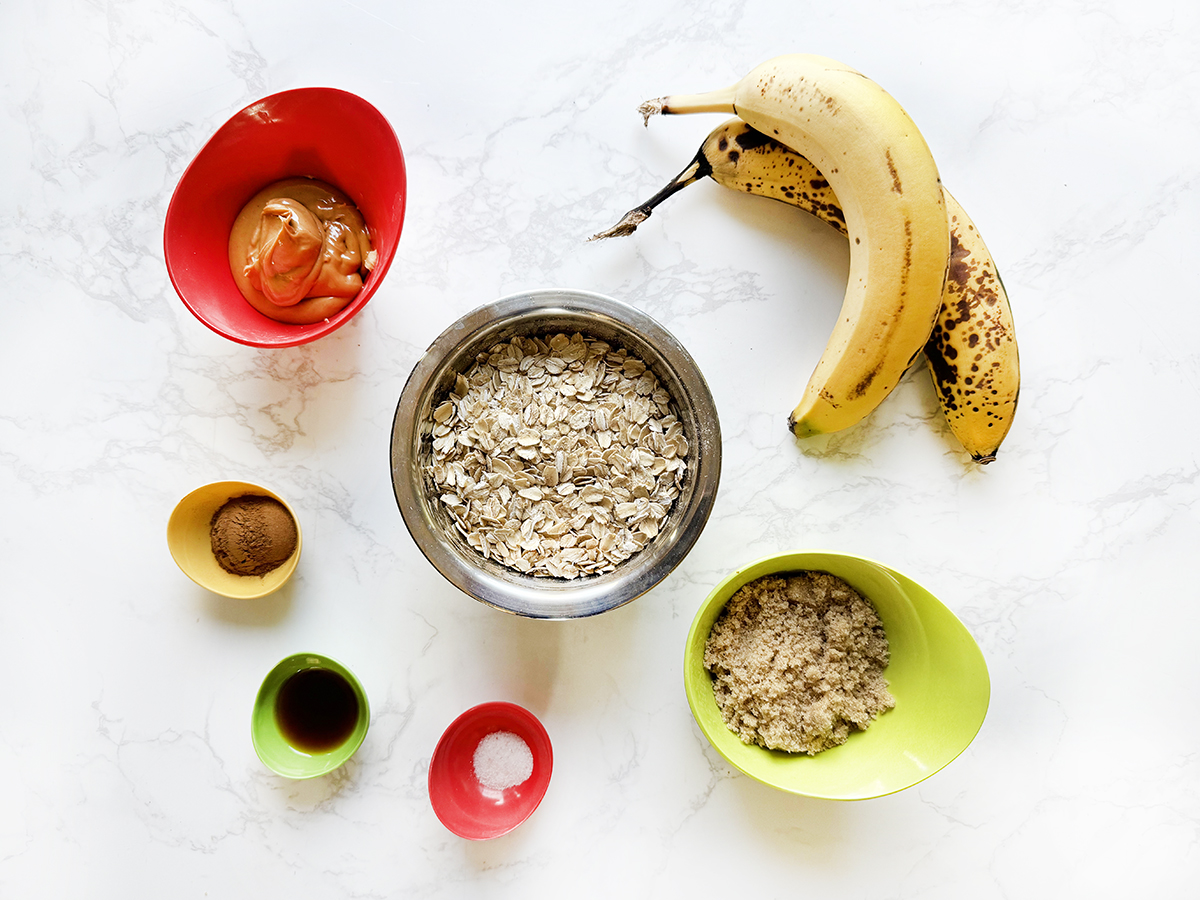
Bananas - Ripe and mashed.
Peanut butter - Creamy or crunchy peanut butter works.
Brown sugar - Light or dark.
Vanilla extract - Experiment with flavors by using a different type of extract such as almond extract, butter, or a little bit of rum extract.
Old fashioned rolled oats - Avoid using quick oats and instant oats for this recipe.
Seasonings - Cinnamon and salt add so much flavor, but spice things up by adding nutmeg, pumpkin pie spice or apple pie spice.
Optional add-ins - Chocolate chips taste great for a hint of indulgence. Feel free to add other ingredients instead, such as dried cranberries or other dried fruit or coconut flakes.
How to Make Banana Granola Bars
This delicious recipe is so easy to make and only needs 10 minutes of prep
Step1
Preheat the oven to 350 degrees F. Line an 8x8 baking dish with parchment paper and set aside.
Step 2
In a large bowl, combine the mashed banana, peanut butter, brown sugar and vanilla extract. Mix these well.
Add the oats, cinnamon and salt and stir the dry ingredients in until combined completely with the wet ingredients.
Step 3
Pour the mixture into the prepared baking pan.

Use a rubber spatula to press the mixture in a single layer, making sure to pack in the corners.
Step 4
Bake in the preheated oven for 20-25 minutes, or until the bars are golden brown.
Step 5
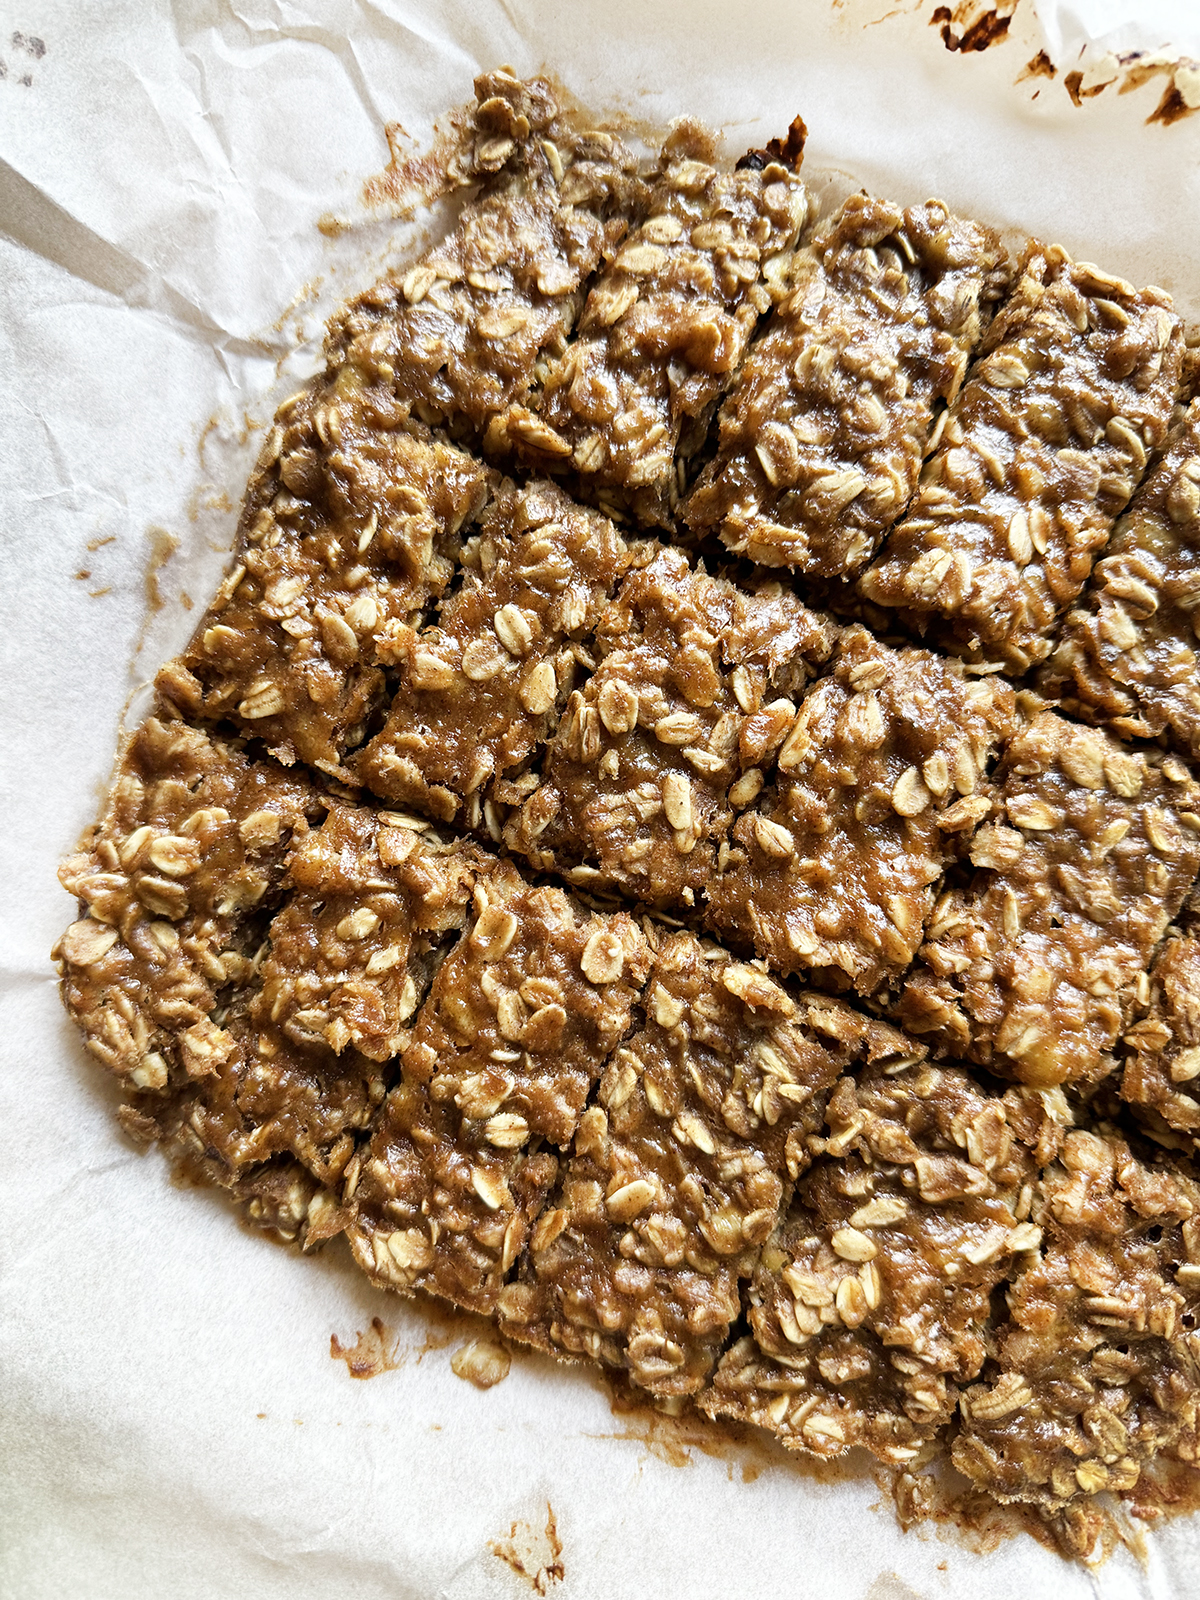
Let cool and lift the parchment paper from the pan and onto a cutting board.
Cut the baked granola into 3x1-inch strips.
Store in an airtight container in the fridge for up to 7 days.
How to Prep Banana Granola Bars Ahead of Time
- The best way to prep ahead is to make the granola bars and store until ready to serve.
OR - You can make the batter, refrigerate, and bake later (let sit at room temp for 20 minutes first).

How To Get Granola Bars To Stick Together
Make certain all the ingredients are totally combined before pouring the mixture into the baking dish.
Be sure the granola mixture is pressed firmly into the pan before baking. Use a rubber spatula or the flat/bottom side of a similar sized or smaller pan to press the mixture in. Don’t forget the corners of the pan.
Allow the bars to cool completely after baking. This will help achieve a cleaner cut and better bars.
Recipe Notes & Tips
- Add all the indulgent mix-ins you’d like!
- Add some chopped nuts for a great texture component and some extra protein.
- Use old-fashioned oats for the best result with this recipe.
- Use certified gluten-free oats for a GF version.
- Sub almond butter, sunflower seed butter or the like if you have a peanut allergy.
- Natural peanut butter usually has more oil than regular peanut butter, so you may need to add additional oats.
- Be sure the mix is pressed firmly into the baking pan so your bars will stick together when cooled.
- Use over-ripe bananas with lots of browning and spots on the skin for best results. Bananas that have mold or are “leaking” are too far gone.
- Bake longer (up to 30 min) for a crispier granola bar! When baked for 20 minutes, they come out as nice and chewy, soft granola bars.
Homemade Granola Bar Add-ins
Use your favorite additions to give these homemade bars your own personal touch.
Chocolate Chips! - Dark chocolate chips, white chocolate chips, peanut butter chips, and toffee chips all work great with the flavor of these granola bars.
Nuts & Seeds - Add chopped nuts like pecans, walnuts, or hazelnuts. Shelled sunflower seeds are another great option.
Dried Fruit and Berries - Add pieces of dried fruit like pineapple, mango, strawberries, etc. to the mix before baking.
Nut or Seed Butters - Crunchy or creamy peanut butter, almond butter, or other nut butters.
Over Ripe vs Rotten Bananas
Overripe bananas will have lots of brown spots on the peel, but the banana inside is sweet and perfect for baking. Overripe bananas will be soft but shouldn’t “melt” in your hand.
Bananas that have obvious signs of mold, are “leaking”, or are completely black and liquidy are too far gone and should be thrown away or composted.
How To Tell If Frozen Bananas Are Bad
First and foremost, write the date on the bag when you freeze your bananas. It is recommended to use bananas within 2-3 months from when you freeze them for the best flavor and quality, but they can last up to 6 months when stored properly. These are a few obvious indicators to look for if you’re uncertain about your bananas.
Mold - Mold is the most significant indicator If you see any obvious mold growth on the bananas, discard them immediately.
Odor - A strong, unpleasant smell signifies a spoiled banana. This almost fermented smell is most easily detected as the bananas thaw, but you can sometimes tell even when frozen.
Excessive discoloration - If the banana is completely black and mushy, it might be past its prime. If your bananas are totally black and mushy and start oozing liquid as they thaw, throw them away.
What To Eat With Granola
You can eat these granola bars as a grab and go breakfast or enjoy a couple on their own with your morning beverage on the couch. But these bars are also great as part of a larger breakfast with fruit and yogurt or as a sweet side to some Fluffy Scrambled Eggs and Brown Sugar Billionaire Bacon.
How to Store Homemade Granola Bars
Wrap individual granola bars in plastic wrap and store them in an airtight container in the refrigerator for up to 7 days.
You can also freeze homemade granola bars for up to 2 months in a freezer safe bag. Put a small piece of parchment paper between the bars so they don’t stick together when freezing. Thaw at room temperature fully before eating.

More Recipes with Granola
Easy Pumpkin Granola Bars
5-Ingredient Blueberry Granola Bars
Banana Oat Breakfast Cookies
Mixed Berry Oatmeal Bars

Banana Granola Bars Recipe
Ingredients
- 2 ripe bananas mashed
- 1/2 cup creamy peanut butter
- 1/2 cup brown sugar
- 1 tsp vanilla extract
- 2 cups old-fashioned rolled oats
- 2 tsp cinnamon
- 1/4 tsp salt
Instructions
- Preheat oven to 350 degrees F. Line an 8x8 baking dish with parchment paper and set aside.
- In a large bowl, combine the mashed banana, peanut butter, brown sugar and vanilla extract. Mix well.
- Add the oats, cinnamon and salt and stir until combined.
- Pour the mixture into the prepared pan. Use a rubber spatula to press the mixture in a single layer, making sure to pack in the corners.
- Bake in the preheated oven for 20-25 minutes, or until the bars are golden brown. Let cool and lift the parchment paper from the pan and onto a cutting board. Cut into 3x1-inch strips.
- Store in an airtight container in the fridge for up to 7 days.
Notes
- Add all the indulgent mix-ins you’d like!
- Add some chopped nuts for a great texture component and some extra protein.
- Use old-fashioned oats for the best result with this recipe.
- Use certified gluten-free oats for a GF version.
- Sub almond butter, sunflower seed butter or the like if you have a peanut allergy.
- Natural peanut butter usually has more oil than regular peanut butter, so you may need to add additional oats.
- Be sure the mix is pressed firmly into the baking pan so your bars will stick together when cooled.
- Use over-ripe bananas with lots of browning and spots on the skin for best results. Bananas that have mold or are “leaking” are too far gone.
- Bake longer (up to 30 min) for a crispier granola bar! When baked for 20 minutes, they come out as nice and chewy, soft granola bars.
Leave a Reply